Kids Halloween Crafts You Will Want to Keep Forever
Every year I pull out a small box from the top of the wardrobe. Inside there is a yarn ghost Emma made when she was three. A Q-tip skeleton Jason put together at the kitchen table. A paper plate ghost with one eye higher than the other that somehow makes it perfect.
I did not plan to keep them. I just could not throw them away.
That is what the best Halloween crafts do. They become little time capsules of who your kids were that year. The wobbly cut lines. The glitter overload. The spider with six legs because it looked cooler that way.
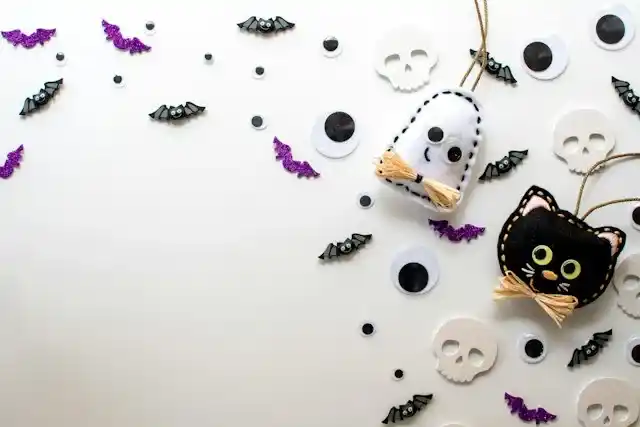
None of the crafts on this list require a special trip to the craft store. Most use what you already have at home.
What to Keep on Hand for Halloween Crafts
Having these basics ready means you can start a craft any afternoon without preparation:
Construction paper and cardstock. Washable paint and paint sticks. Googly eyes. School glue and glue sticks. Kid-friendly scissors. Toilet paper rolls and cardboard scraps. Paper plates. Yarn. Q-tips.
Save clean toilet paper rolls and cardboard packaging throughout September. They become the base of some of the best crafts on this list.
Paper Plate Ghosts
Paper plate ghosts are quick, cheap and nearly impossible to mess up. Kids can do most of it themselves which is always a win.
Cut wavy strips from the bottom of the plate to make the ghost’s tail. If scissors are tricky for younger children, prep this part before you sit down together. Add faces with markers, cut paper or stickers. Big surprised eyes, wobbly grins, mismatched expressions. The less symmetrical the better.
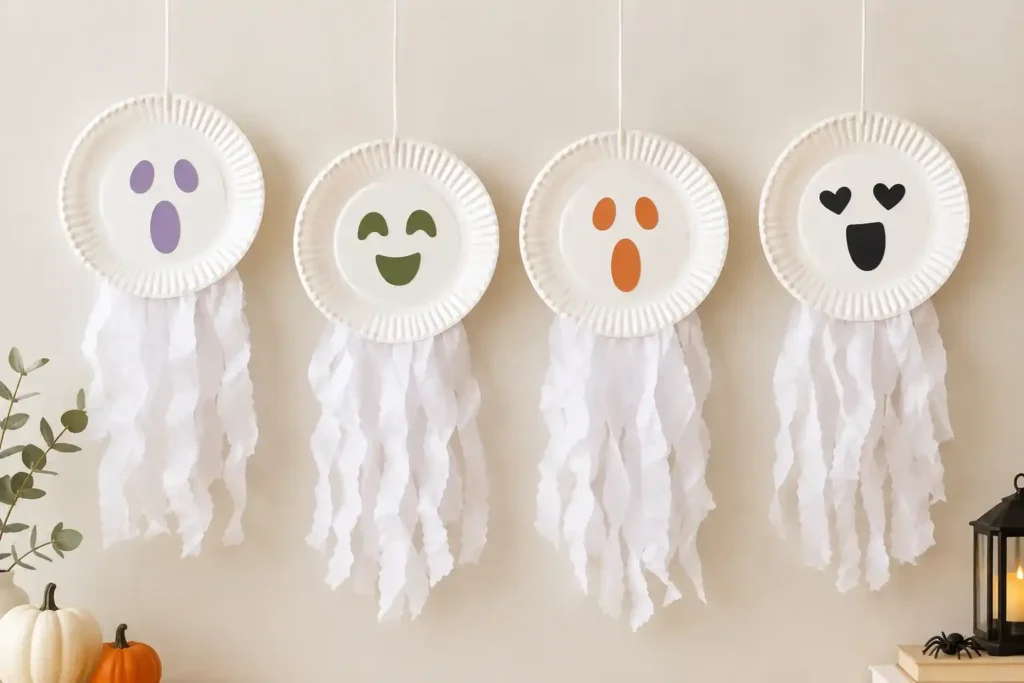
Hang them by a window and a light breeze makes them float. Make enough and you have a whole ghost family.
What you need: Paper plates, scissors, markers, string for hanging.
Toilet Paper Roll Bats
These look like they took effort. They did not.
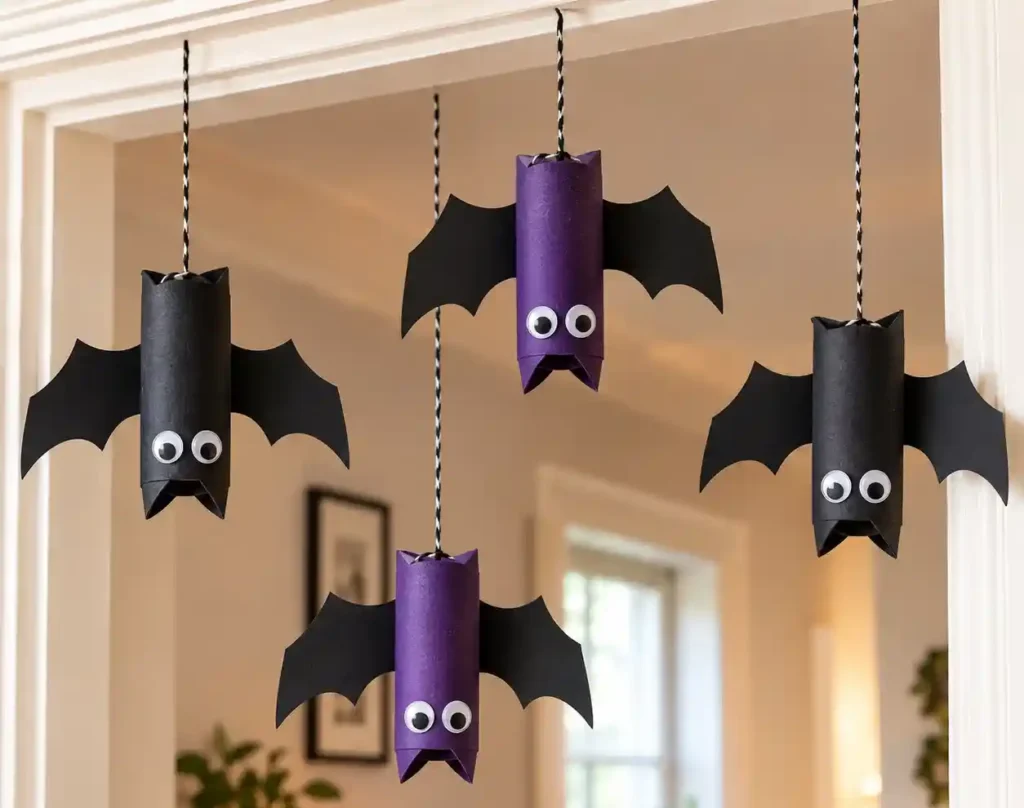
Paint the roll black or purple. While it dries, cut bat wings from black construction paper. Fold the top edges of the roll inward to make ears. Glue the wings to the back. Add googly eyes or draw them on. Poke a small hole at the top and thread string through so the bat hangs upside down.
Make several at different heights over a doorway. They look genuinely good.
What you need: Toilet paper rolls, black paint, construction paper, googly eyes, string.
Handprint Spiders
This is the one kids always remember making. Trace both hands on black paper and cut them out. Overlap the palms in the center so the fingers become eight legs and glue them together. Add a round paper circle on top for the body and stick on googly eyes.
Two eyes look cute. Eight eyes look extra spooky. One giant eye looks amazing. Let them decide.
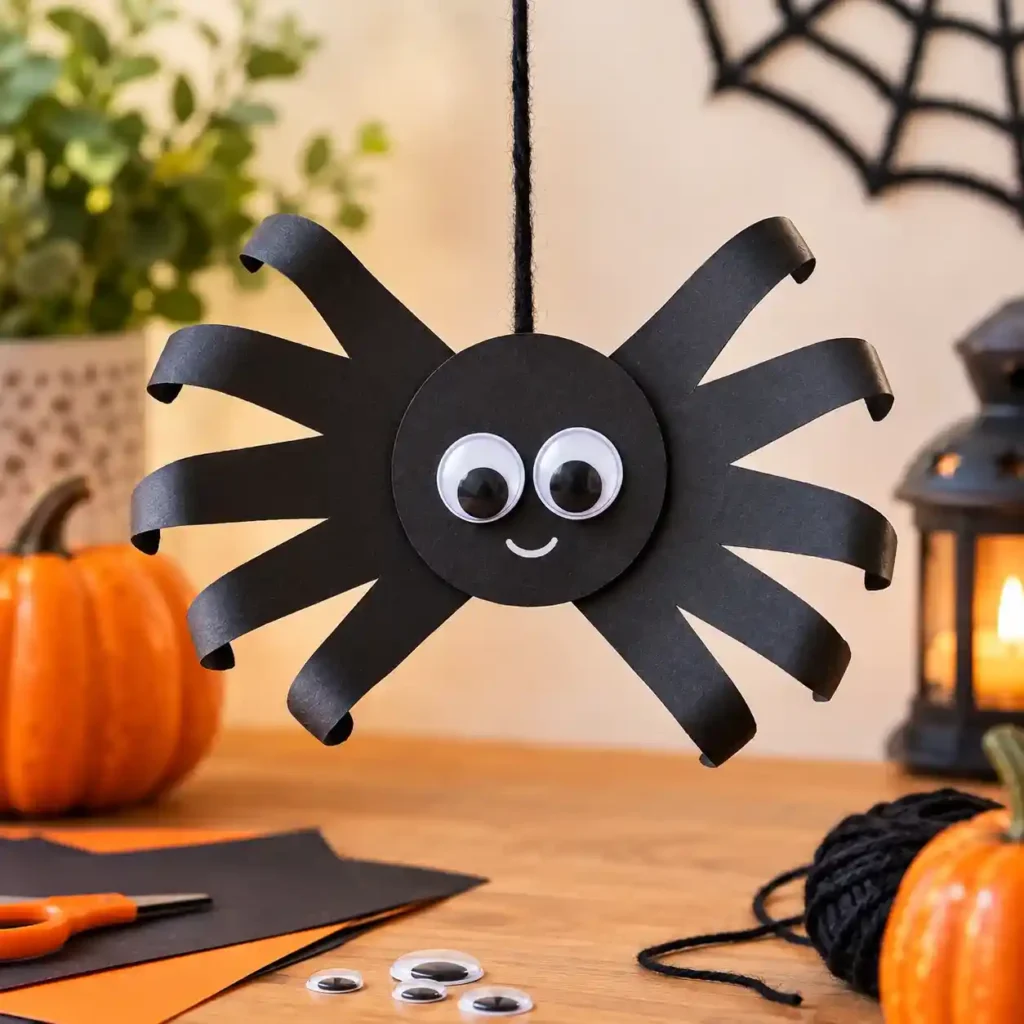
Bend the finger legs upward slightly for a 3D effect and add a piece of yarn from the top so it looks like the spider is hanging from a web.These are keepsakes. You will always know how small their hands were that year.
What you need: Black paper, scissors, glue, googly eyes, optional yarn.
Scrape-Painted Ghosts
These end up looking like real art and the kids did almost all of it themselves.
Squeeze several colors of washable paint onto white paper. Use a piece of scrap cardboard to drag the paint across the page. Once dry, cut rounded ghost shapes from the painted paper and add simple marker faces. Little bows and hats make them even better.
Frame the best ones. Genuinely.
What you need: White paper, washable paint, scrap cardboard, scissors, markers.
Q-Tip Skeletons
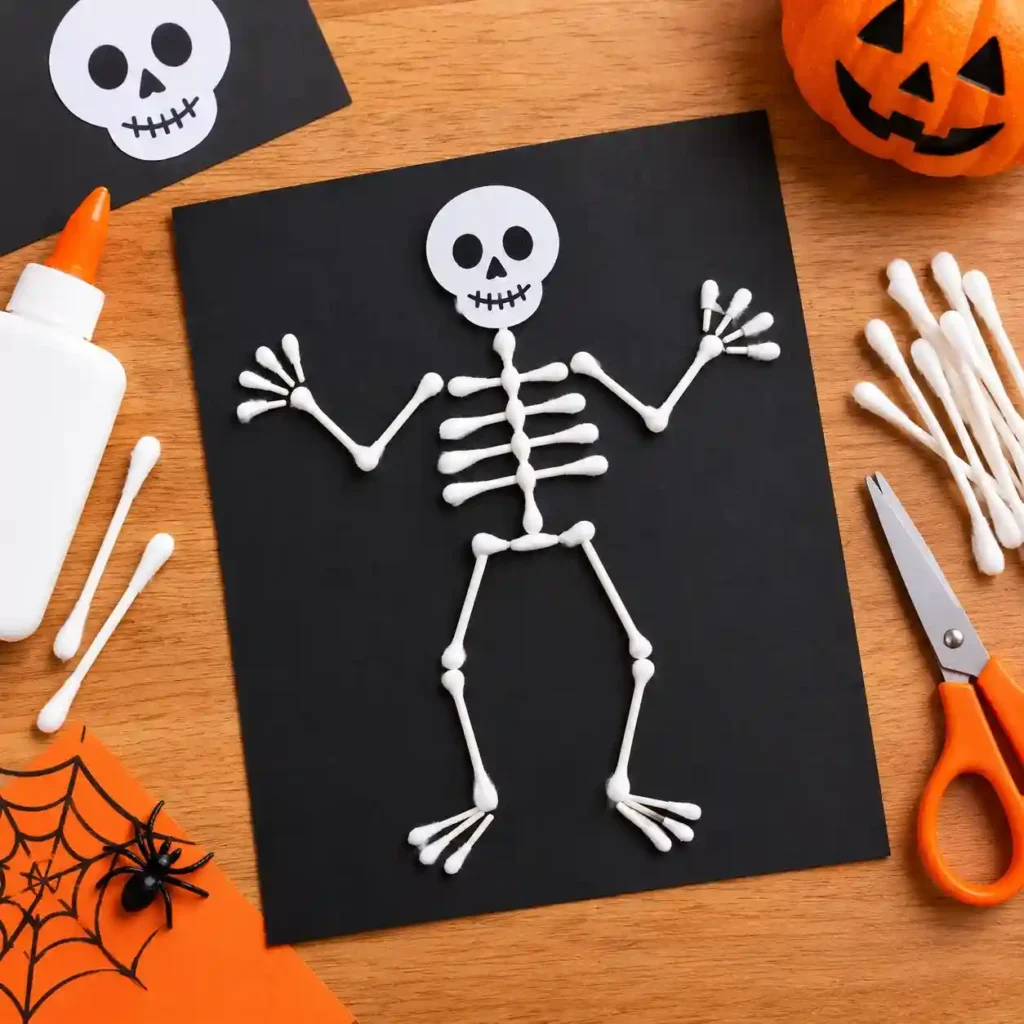
Q-tips make surprisingly convincing little bones. Kids arrange them onto black construction paper to form a skeleton or skeleton hand, cutting some shorter to fit properly. Add a small paper circle for the skull and draw on the face.
Apply glue to the paper first then press the Q-tips into position and let it dry flat. The finished result looks impressive and completely different from anything bought in a shop.
What you need: Q-tips, black construction paper, school glue, scissors, white paper for the skull.
Egg Carton Monsters
Cut the egg cups apart and let kids paint them in whatever colors they want. Once dry, add googly eyes, paper teeth and yarn hair. Stack two cups for a taller monster. Add pipe cleaner arms. Use metallic paint for a robot look.
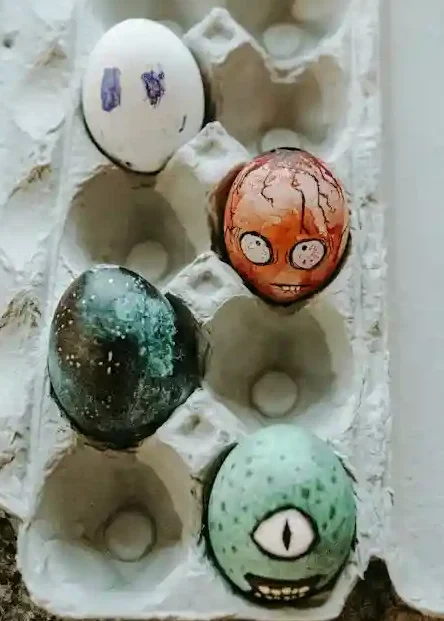
Every single one ends up completely unique. Line them up on a windowsill or use them as table decorations for a Halloween party. They cost almost nothing to make.
What you need: Cardboard egg carton, paint, googly eyes, scissors, pipe cleaners, yarn.
Pumpkin Painting
Carving pumpkins is fun but it is not a weekday activity. Painting is.
Use real small pumpkins or foam craft store ones. Cover the table, hand out paint and let the ideas fly. Some kids go classic with jack-o-lantern faces. Others paint entire scenes or turn the pumpkin into a character. Add glitter glue, stickers or yarn for hair.
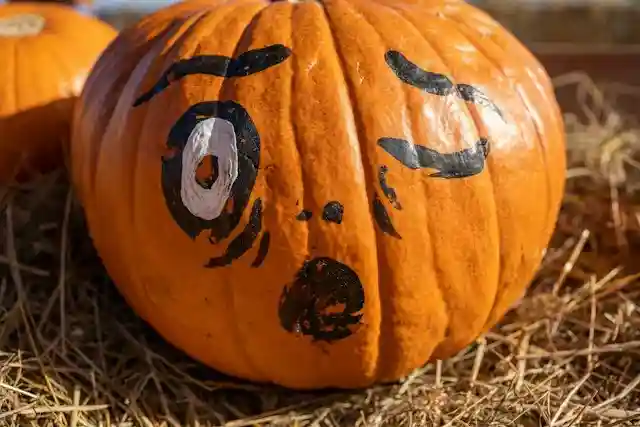
Painted pumpkins last longer on the porch than carved ones and the results are often more colorful and creative.
What you need: Small pumpkins, acrylic paint, paintbrushes, optional embellishments.
Shadow Puppet Storytelling
This one turns craft time into an entire evening of entertainment.
Cut Halloween shapes from black cardstock. Witches, haunted houses, cats, bats, ghosts. Tape each shape to a straw or wooden skewer. Turn off the lights, shine a flashlight at a blank wall and let the shadows come to life.
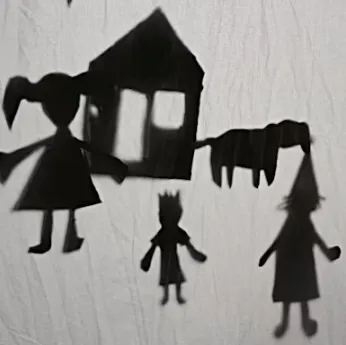
Kids make up stories on the spot. A ghost chases a pumpkin. A bat gets stuck in a tree. Someone invents a plot twist involving a vampire with a toothache. The puppets keep changing and the stories get sillier and better.
This is the craft that does not end when the making is done. Tuck the puppets away flat in a folder and pull them out again next year.
What you need: Black cardstock, scissors, straws or skewers, tape, a flashlight.
Popsicle Stick Haunted Houses
Good for kids who like building things. Glue popsicle sticks into a house shape, square base and triangle roof. Once dry, paint black or purple. Add paper windows, tiny plastic spiders, and a fence made from cut-down sticks. Glue the base to cardboard so it stands.
Every house ends up looking different even when kids start with the same materials. Sturdy enough to keep for next year.
What you need: Popsicle sticks, glue, paint, construction paper scraps, optional googly eyes.
Watercolor Resist Art
Draw Halloween shapes on watercolor paper using a white crayon or oil pastel. Press firmly. When kids paint over the page with watercolors, the hidden shapes appear as if by magic because the wax resists the paint.
Ghosts, candy corn, spiderwebs, pumpkins, bats. It produces a reaction every single time. The finished pieces look beautiful enough to keep on the wall.
What you need: Watercolor paper, white crayon or oil pastel, watercolor paints.
Mini Haunted Terrariums (For Older Kids)
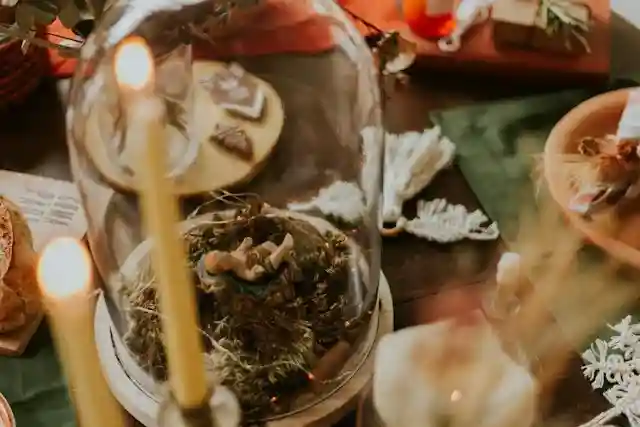
Older kids want something that feels more like designing than crafting. A clear jar, black sand or crumpled tissue paper as the base, and then a tiny Halloween scene built inside. Small plastic figures, twigs for trees, tiny fake pumpkins, a paper bat hanging from fishing line.
They can arrange and rearrange until it looks exactly right. The storytelling that happens while they work is half the fun. Add new details next year and the scene grows over time.
What you need: Clear jar or plastic container, black sand or tissue paper, small Halloween items, fishing line.
Quick Tips That Make Craft Time Actually Work
Keep the setup simple. The fewer supplies you need to gather, the more likely you are to sit down and do it.
Let go of perfect. The ghost with one eye and a wobbly mouth is better than the one you helped too much with. The imperfect ones are the ones worth keeping.
Save what they make. Even the things that feel too simple. A photo taped to the fridge. A yarn ghost kept in a box. Label it with the year and their age. Ten years from now you will be glad you did.
Use what you already have. Toilet paper rolls, scrap cardboard, leaves from outside and old paint cover most of what you need. Our post on 101 fun things to do at home with kids has more ideas for keeping kids creative without spending anything.
Where to Start Based on Age and Energy
Toddlers and preschoolers: Paper plate ghosts, handprint spiders, egg carton monsters, pumpkin painting.
Early school age: Scrape-painted ghosts, Q-tip skeletons, toilet paper roll bats, watercolor resist art.
Older kids: Shadow puppets, popsicle stick haunted houses, mini haunted terrariums, patterned leaf art.
Five minutes before bedtime: Draw your own Halloween character on blank paper. No template, no instructions. Just whatever they imagine.
Mira x