
Fridge Organization Ideas That Cut Your Grocery Bill
I used to buy a bag of spinach on Monday forget it existed by Wednesday and find it dissolved into dark green mush the following Sunday. Every single week some version of that happened.
What I did not realize was that I was not just wasting food. I was wasting money I had already spent. According to research from the University of Vermont the average American household wastes close to one-third of the food they buy which adds up to approximately $1,800 per year in discarded groceries.
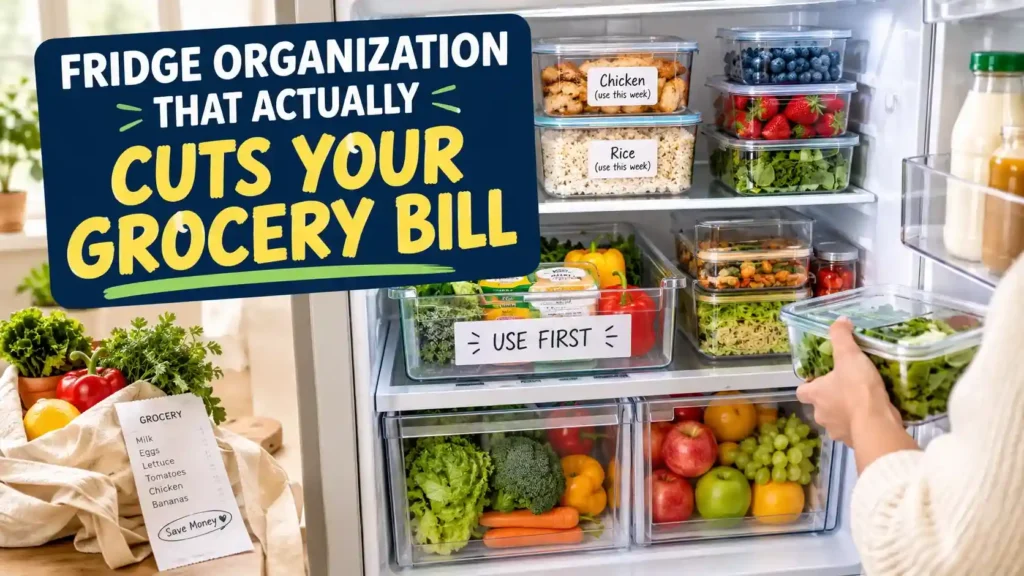
The problem was not my shopping habits. It was my fridge. And fridge organization is one of the fastest ways to fix it.
Why a Messy Fridge Costs You Money
When food is hidden behind other food you forget it exists. You buy duplicates of things you already have. You find things only after they have already gone bad. All of that is money you spent and then threw directly in the bin.
An organized fridge solves this by making everything visible at a glance. When you can see what you have you shop for what you actually need use items before they expire and make meals from what is already there.
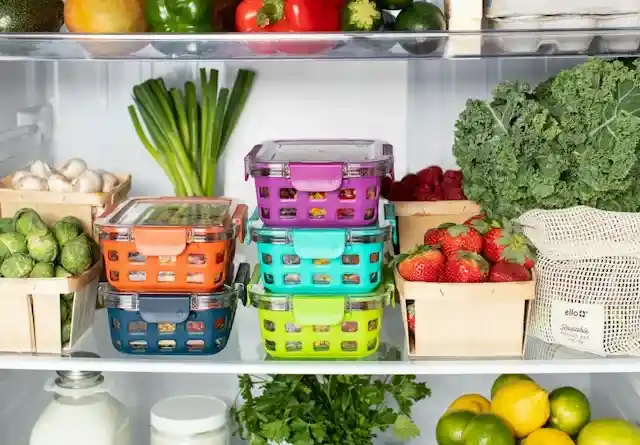
It also makes meal planning significantly easier. Our post on weekly meal prep on a budget covers how to turn an organized fridge into a full weekly system that saves both time and money.
Step 1: Empty It Out and Start Fresh
You cannot organize on top of chaos. Take everything out, check expiry dates and throw out anything expired or past its best. Be honest. A sauce you have not touched in four months is not going to get used this week.
Once empty clean every shelf and drawer with warm water and white vinegar. Dry everything thoroughly before you start putting food back. A clean fridge is easier to maintain and the whole system works better from a fresh start.
Step 2: Store Food in the Right Temperature Zone
Your fridge is not the same temperature throughout. Storing food in the correct zone makes it last significantly longer.
Top shelf: Warmest part of the main compartment. Best for leftovers, yogurt, deli meats and ready-to-eat foods you want to use soon.
Middle shelves: Consistent moderate temperature. Ideal for dairy, eggs and cooked foods.
Bottom shelf: Coldest part. Raw meat, poultry and fish always go here in sealed containers. The Food Standards Agency recommends this specifically to prevent drips contaminating other food.
Crisper drawers: High-humidity drawer for leafy greens and herbs. Low-humidity drawer for fruits and harder vegetables. Keep fruits and vegetables separated as some fruits produce ethylene gas which speeds up the spoilage of nearby vegetables.
Door: Warmest and most temperature-variable spot. Best for condiments, sauces, jams and drinks. Avoid keeping milk here despite what many fridge designs suggest.
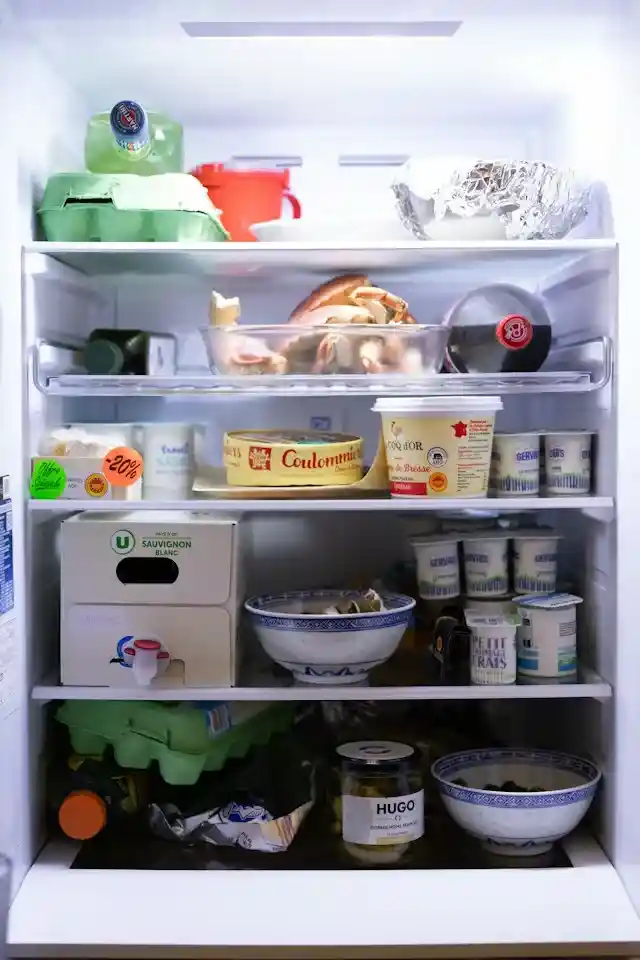
Step 3: Create Simple Zones for Your Family
Group food by how your household actually uses the fridge. When everything has a consistent home, it goes back in the right place and the system maintains itself.
Useful zones for single moms:
A leftovers zone on the top shelf front and center so nothing gets pushed to the back. A lunchbox zone where everything for school lunches lives together. A snack zone at a lower level where kids can reach things independently. A produce area with fruits and vegetables clearly separated. A drinks zone on one side of the door.
Keep it simple. Four or five zones that reflect your real habits work better than ten categories you cannot maintain.
Step 4: Create a “Need to Use” Bin
This is the single most practical change I have made to my fridge and the one with the biggest impact on food waste.
Registered dietitian Alyssa Miller developed this idea after getting frustrated by food going off before she could use it. The concept is simple: one clear bin at eye level, front and center, for anything that needs to be used soon. Half an avocado, open stock, the last third of a bag of salad, berries that need eating today.
The rule is to always look there first when deciding what to cook or eat. The unexpected bonus, as Miller told HuffPost, is that it also reduces decision fatigue. If the bin has half a jar of salsa and some leftover rice, dinner has already made itself.
Step 5: Use Clear Containers and Label Everything
The biggest enemy of fridge organization is not being able to see what you have.
Clear containers fix this immediately. When you can see the contents at a glance, nothing gets forgotten. Opaque containers and mystery bowls covered in cling film get pushed to the back because nobody knows what is in them without moving everything around.
You do not need an expensive matching set. A few affordable clear bins and containers plus a marker for labels is all you need. Label every container with the contents and the date it was made or opened. It takes five seconds and removes all guesswork.
Square containers stack more efficiently than round ones. Glass is worth the investment long-term because it does not absorb odors and stays clear after repeated washing.
Step 6: Use the FIFO Method Every Time You Shop
FIFO stands for First In, First Out. It is the principle used in every professional kitchen and it works just as well at home.
Every time you bring new groceries home, move older items to the front before placing new items behind them. This applies to everything: milk, yogurt, salad bags, jars of sauce.
When you always reach for the item at the front, you are always reaching for the oldest version of that item, which means it gets used before it expires rather than sitting behind a newer purchase until it is too late.
Step 7: Do a 5-Minute Fridge Check Before You Shop
Before you write your shopping list, spend five minutes looking through the fridge. What needs using in the next few days? What do you already have plenty of? What needs replacing?
This prevents buying things you already own and tells you which meals to plan around what needs using soonest. It is the simplest way to make your food budget go further every single week.
If managing your grocery budget is something you are also working on our guide on how to build a budget on one income covers food spending as part of the full household picture.
How to Store Common Foods to Make Them Last Longer
Fresh herbs: Stand upright in a glass of water, loosely covered with a bag. Most herbs last up to two weeks this way instead of a few days in their original packaging. Basil prefers room temperature.
Berries: Wash only when ready to eat. Store unwashed in a ventilated container lined with a paper towel. A quick rinse in diluted vinegar before drying and refrigerating extends their life significantly.
Leafy greens: Wash, spin dry completely and store in a container lined with paper towel in the high-humidity drawer. Moisture left on leaves is what causes them to wilt quickly.
Avocados: Ripe avocados slow down in the fridge. A cut avocado stores better with the stone left in and a little lemon juice on the cut surface before sealing.
Cheese: Wrap in parchment or wax paper rather than cling film. Cheese needs to breathe slightly and airtight plastic causes it to sweat and deteriorate faster.
Eggs: Keep in the original carton on a middle shelf rather than the door. The carton protects them from absorbing odors and the temperature is more stable away from the door.
Leftovers: Cool before refrigerating, cover properly and eat within three to four days. The NHS recommends not leaving cooked food at room temperature for more than two hours before refrigerating.
Mira x